How to do Eye Makeup
by Digital Team August 13, 2021 · Beauty
Who wouldn’t like those dazzling eyes? Be it a Friday night or a Monday morning, there can be eye makeup looks for any day, any time. All we’ve got to do is choose our colors wisely.
A professional or not, just give us the products and we can all become self-made makeup artists, all thanks to YouTube and the gorgeous makeup influencers. And if you’re a beginner, worry not we’re here to save your day with a few eye makeup tips.
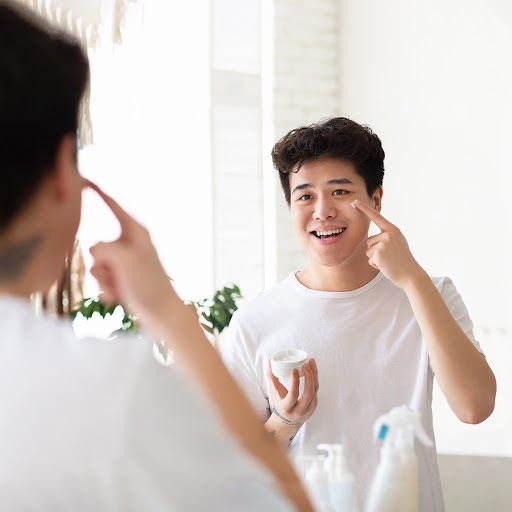
But just before we jump in make sure your face is thoroughly washed and moisturized because skincare is essential.

Step 1: Apply an eye primer
Always set the base with an eye primer. It will keep your eye makeup intact for long hours. An eye primer creates a clean canvas for you to work on, and it acts as a barrier between your eye makeup and the natural oils in your skin. That way, your beautiful eye makeup will survive for longer and will save you from frequent touch-ups. No specific kind of brush is needed for applying an eye primer, you can dab it on your skin using your fingers or can use a sponge as well.

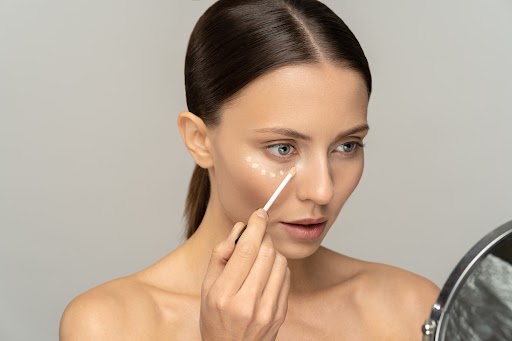
Step 2: Conceal
If you have dark under eyes or eyelids, it’s usually recommended to conceal them to create a neutral color tone. On doing that the color of the eye shadow pops out. Make sure you don’t over-conceal it and just apply it in dots rather than swooping it as a cream as it is thick and may look cakey if applied in excess. Also, read how to reduce the puffiness of the undereye.
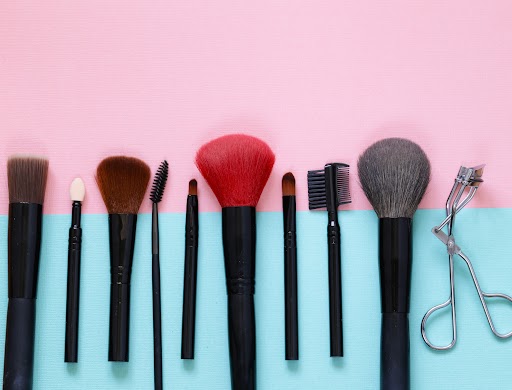
Step 3: Choose the right brush
Different brushes create different illusions in the eye. For instance, a large shadow brush is best for lightly coating your eyelids with a thin layer of natural-looking color, the medium brush is used to provide more coverage, the small brush provides the greatest color intensity and precision, and the angular brushes are best for lining and detailing.
Step 4: Applying eyeshadow
The most interesting yet confusing step. Choosing the right eye shadow shade can be a task. For daytime, you can preferably go for lighter/brighter shades, and for nights the Smokey eye is always for the win.
Application:
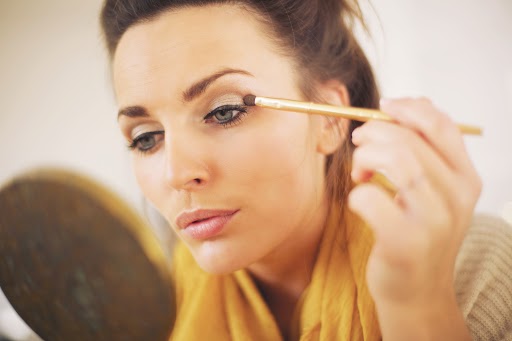
- When you first apply the pigment to your eyelid, pat the eyeshadow rather than brush it across your lid. This will help it to stick to your lid better and give a solid rather than patchy appearance.
- Use short, slow brush strokes blending in the same direction instead of rubbing the eyeshadow across your eye in fast motion. You should ALWAYS blend in slow motion while applying eyeshadow.
- Unless you are using a shimmery color, never apply your eyeshadow all the way up to your eyebrows. This is an excellent way to over-dramatize your eyes and make them look much too overdone.

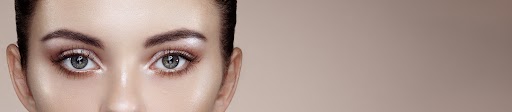
Step 5: Highlighting
Not an essential step, but can make a huge difference in your eye shadow game and will definitely define your brows as well. A touch of highlighter in the inner corner of your eyes and on the brow line can make your eyeshadow pop and how. It will brighten and define your eyes. This step has only become particularly popular in the recent past and you’ll definitely want to use it once you see what difference it makes.
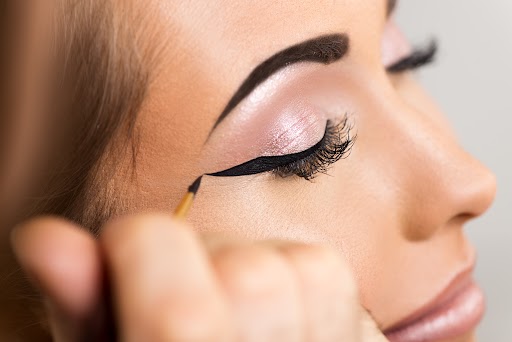
Step 6: Eyeliner
An eyeliner can never go wrong! It gives a defined shape to your eyes. From gel to pencil liners, from kohl black to neon yellows, it’s available in all colors. And if you don’t have one in a specific color you can make a DIY liner. All you’ve got to do is wet a slanted brush, then dip it in any eyeshadow color of your choice. Line your eyes as close to the upper lashes as possible, from the inner corner to the outer corner and voila you’re done.
Also read about ways how to keep your makeup from transferring to your face mask
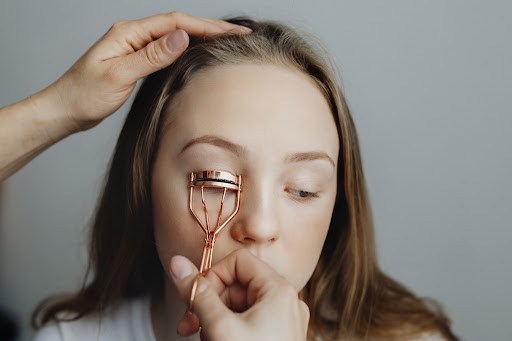
Step 7: Curl your Lashes
An eyelash curler will make even the longest and fullest lashes look even better and will instantly widen the eyes. For a more dramatic effect, you can heat the curler under a blow dryer for a couple of seconds. It can make your eyelashes look bigger and fuller, and they’ll curl better, but just be careful because you don’t want to burn your eyelashes off.
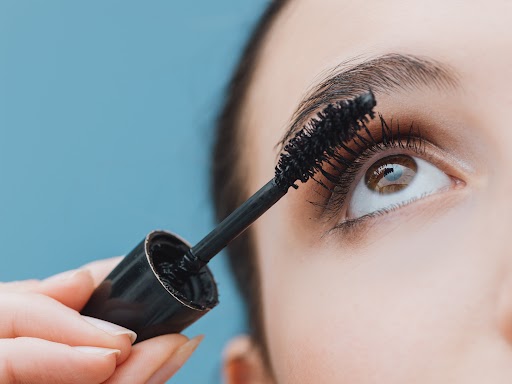
Step 8: Apply Mascara
To apply your mascara, look straight in the mirror, place the wand at the base of your upper lashes, and joggle it back and forth, coating the base of your lashes. Then pull the wand up towards the tip of your eyelashes, making sure you’re coating every part of your lashes as you pull through and move slowly to avoid clumping. To clear the clumps use a clean spoolie and brush up the lashes. Afterward, recoat it with mascara to give it more volume.
Hopefully, this short guide helps you amp up your eye makeup skills. Keep practicing these basics and in no time you’ll see how good a makeup artist you are. And if any day you’re feeling lazy and not in the mood to do your own makeup, just Click here and our Yes Madam professionals will be at your rescue to glam up your look.

Rattling clean web site, appreciate it for this post.